Installation Instructions
The Rifleman Cheek Rest System (RCRS) can be installed using two different methods. Both methods provide rock-solid support while in position. Below are the instructions for both methods.
First Method: Temporary install using hook & loop straps.
If you’re going to frequently move your rest from rifle to rifle, this will be the most convenient.
For this tutorial, we’re installing this Rifleman Cheek Rest System onto a Springfield M1A. The RCRS works well on rifles from the Ruger 10/22 to .30 caliber battle rifles.
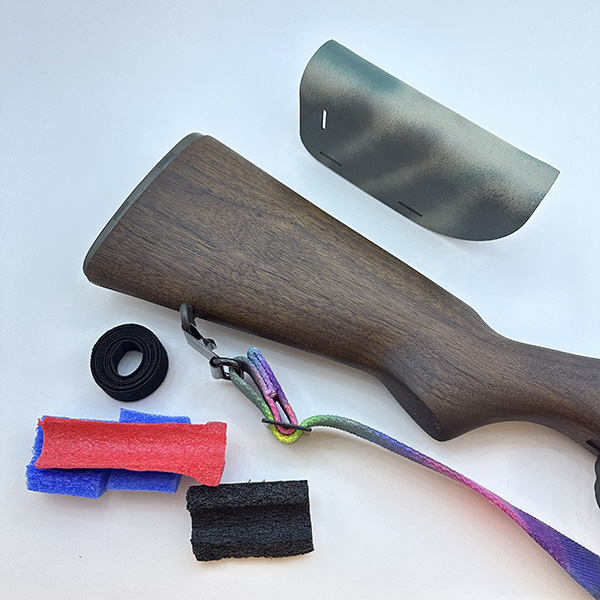
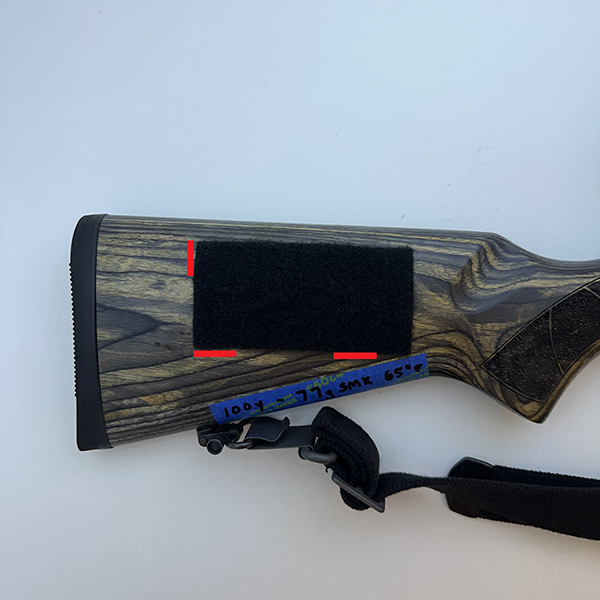
Step 1. Gather materials needed
For this method, you’ll need the Rifleman Cheek Rest System and a bit of padding material. Padding material can be foam, folded up paper towels, or an old washcloth.
In the picture above, we added about a half inch of foam padding to raise the shooter’s face.
Step 2. Position the rest.
Place the cheek rest on the comb of the rifle stock. Add padding between the rest and the stock. To confirm placement and the proper amount of padding:
- Get into your shooting position
- Place your head on the stock. With your neck relaxed, your cheek should be on the cheek rest.
- Your eye should be centered directly behind the rear sight or scope.
- If not, adjust the amount of padding to get the proper eye position with your head and neck relaxed.
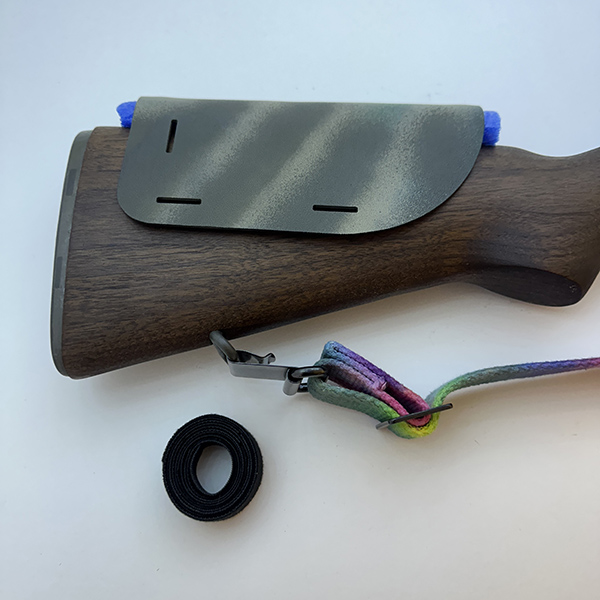
Step 3. Fit the first strap.
First, remove the cheek rest from the stock. Next, insert the hook & loop material into the two pair of bottom slots with the loop side up. Leave slack to slide the cheek rest onto the stock over any sling mounting points.
Don’t trim the material yet.
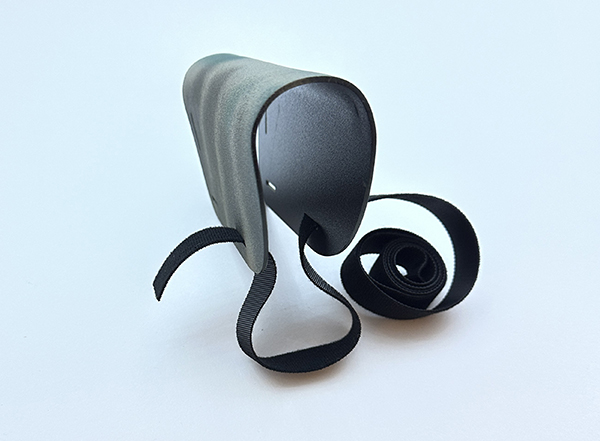
Step 4. Complete fitting.
Slide the RCRS into place with padding to set the proper height. Snug the strap into place and trim it to fit, leaving about an inch overlap in case you need to add additional padding. Remove the cheek rest and repeat for the second lower strap.
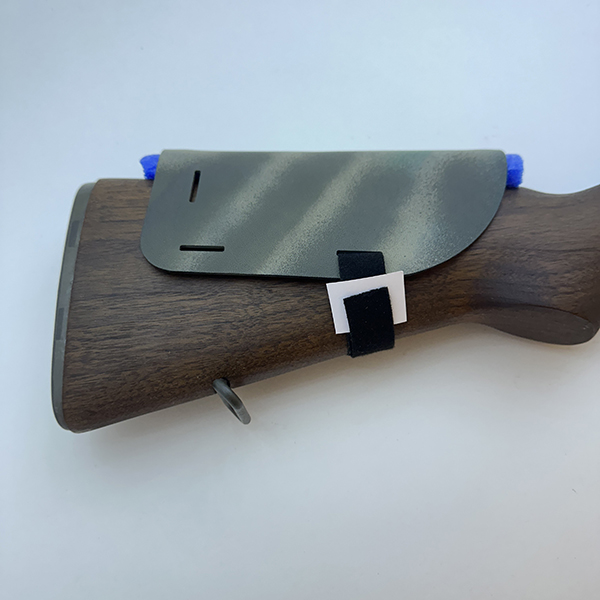
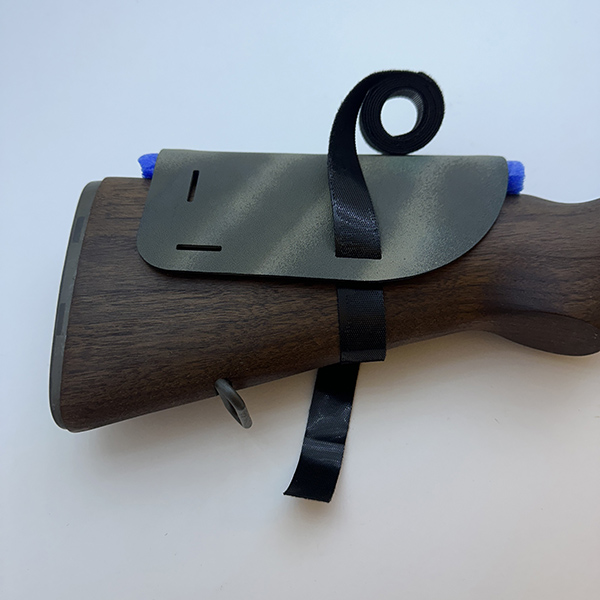
Black-on-black is hard to see in pictures, so we added a scrap of paper to show where the hook & loop overlaps and joins together.
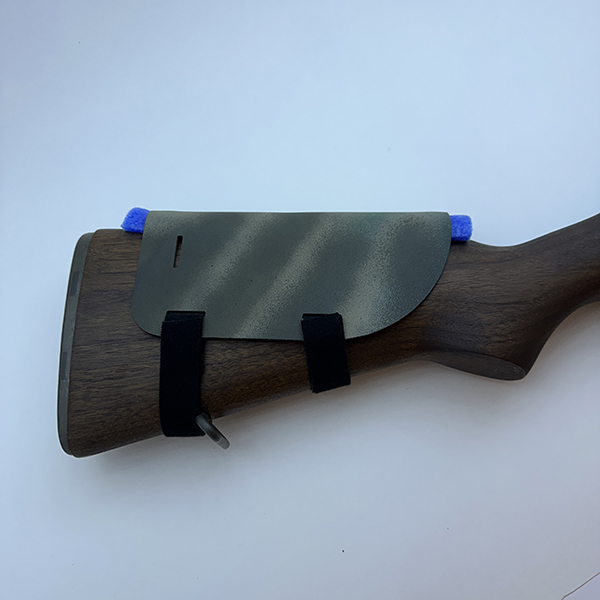
This picture shows the RCRS with both bottom straps in place on the M1A stock.

Step 6. Optional – add a rear strap.
Most applications require only two straps. However, if you feel the need for extra security, we added a pair of slots at the back of the cheek rest. Remove the cheek rest from the stock. Feed strap material through the rear slots. Reinstall the cheek rest and trim the strap to fit.
Second Method: Install using adhesive hook & loop.
If you’re going to keep this cheek rest primarily on one rifle, this will be the most convenient. For the second method, we’re installing the Rifleman Cheek Rest System on a Mossberg MVP bolt-action rifle in .223.
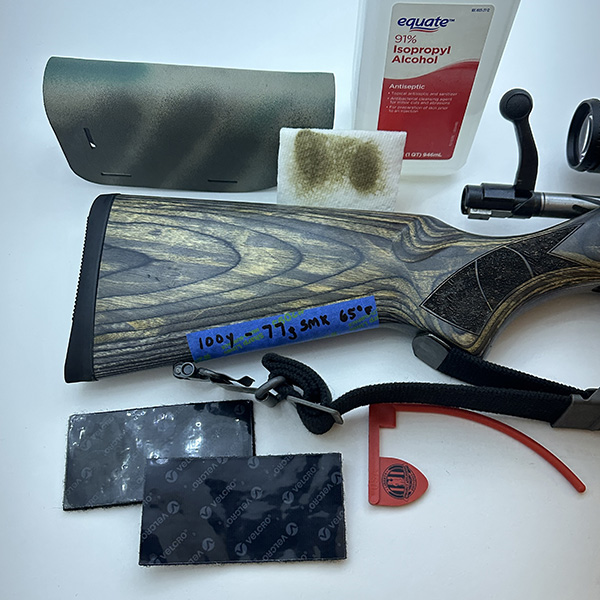
Step 1. Gather materials needed
You will need the Rifleman Cheek Rest System, cleanser, and cleaning towels.
Step 2. Clean the stock.
Use your favorite soap or degreaser to remove dirt, sweat, and gun oil from the stock of the rifle.
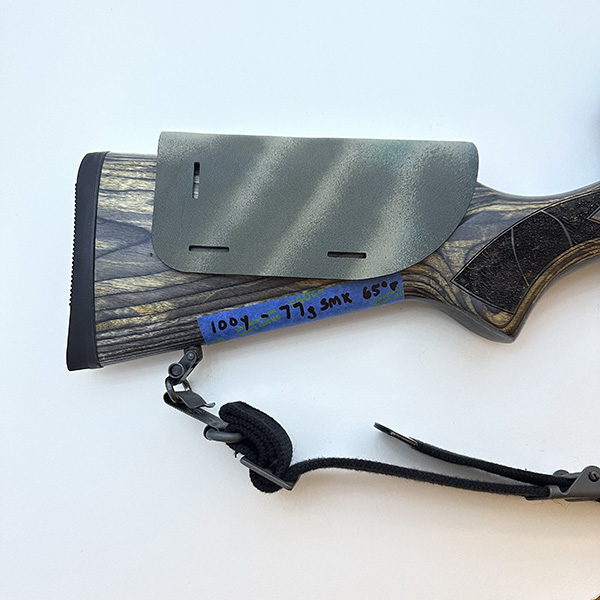
Step 3. Position cheek rest on the stock.
Slip the cheek rest onto the comb of the stock. Estimate approximately how high you want the cheek rest to be. This is not an exact science. Note where the slots are compared to the rifle stock. Remove the cheek rest.
Step 4. Attach the loop side of hook & loop material to the left and right sides of the stock.
Remove the backing. Using the approximate location of the cheek rest slots as a guide, place the adhesive side against the stock. Press firmly into place. Repeat for the opposite side of the stock.

Step 5. Attach the hook & loop to the inside of the cheek rest.
Remove the backing from the “hook” side of the material. Place the adhesive side inside the cheek rest so the slots are available for future use. Press firmly. Repeat for second side.
Step 6. Place the cheek rest on the stock.
Spread the sides of the cheek rest wide enough to clear the loop material on the stock. Lower it onto the stock and press it firmly into place. To confirm the cheek rest is in proper position:
- Get into your shooting position
- Place your head on the stock with your cheek resting on the stock and neck relaxed.
- Your eye should be centered directly behind the rear sight or scope.
- If not, gently remove the rest and reposition it to get the proper eye position with your head and neck relaxed.
Step 7. Optional – add padding.
A few Riflemen find it beneficial to add padding between the cheek rest and the top of the stock. This is not necessary in most cases, but we believe in Liberty.
To order CLICK HERE NOW!